
How to Make Soap at Home: A Beginner’s Guide to Cold Process, Melt-and-Pour & Hot Process
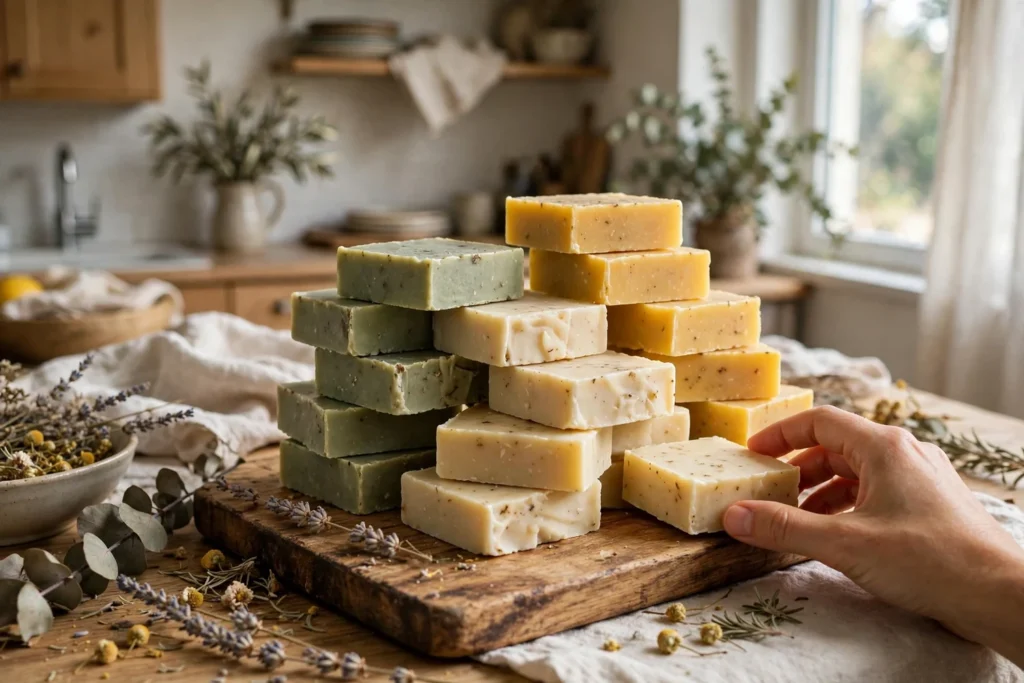
The first bar of soap I ever made came out of its mold looking more like a brick than anything you would want near your skin. It was lopsided, a little soft at the edges, and I loved it completely, because I had made it myself, in my own kitchen, from oils and lye and a wooden spoon I still use for soup. That is the thing about homemade soap. It spoils shop-bought bars for you, not because it is perfect, but because it is yours.
This guide will take you from zero to a rack full of curing bars. You will learn the safety rules that matter, the three ways to make soap and which one suits you, and one tested cold process recipe with every quantity spelled out. No guessing, no vague instructions, no skipped steps.
If you have never handled lye before, start with the safety section and read it twice. Then pick your method. Melt-and-pour is the gentle front door. Cold process is the full craft. Hot process sits in between, with a crockpot doing the patient work for you.
Table of Contents
- Safety First: Working With Lye
- The 3 Methods Compared
- Tools and Ingredients
- Method 1: Melt-and-Pour Soap (No Lye Handling)
- Method 2: Cold Process Soap, Step by Step
- Method 3: Hot Process Soap, the Crockpot Way
- Making It Yours: Scents, Colors and Exfoliants
- Curing and Storing Your Bars
- Troubleshooting: When a Batch Goes Sideways
- Frequently Asked Questions
Safety First: Working With Lye
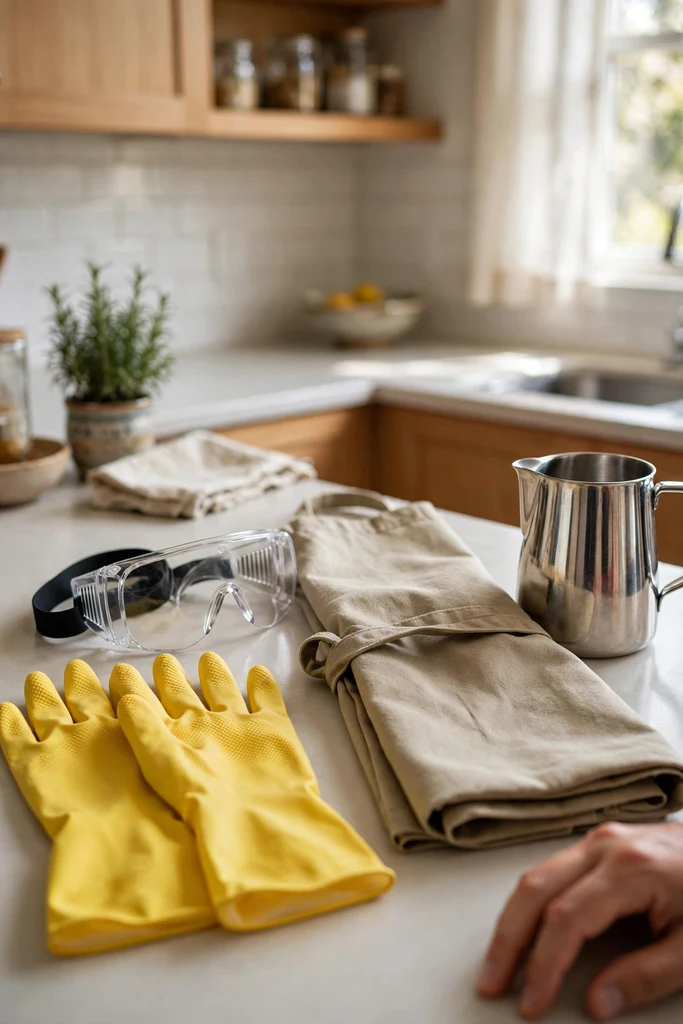
Everything good about homemade soap starts with respecting one ingredient. Sodium hydroxide, the lye in cold process and hot process soap, is caustic before it meets oil. It can burn skin and eyes, and it eats through aluminium. Treat it like a careful guest in your kitchen, not a monster, and it will never hurt you.
The rules below are not optional extras. They are the whole safety system, and they take about five minutes to set up. Once they are habit, soapmaking feels calm, not scary.
Safety Box: Lye Rules to Never Break
- Safety goggles on, every single time, before the lye container opens. Not glasses. Goggles.
- Chemical-resistant gloves, long sleeves, and closed shoes. No bare arms near lye water.
- Work somewhere ventilated. Open a window or switch the extractor fan on, and keep your face out of the steam that rises when lye meets water.
- ALWAYS add lye TO water, slowly, stirring as you go. Never pour water onto lye. The wrong order can make the mixture erupt.
- Mix lye solution only in a heat-resistant container marked #5 PP plastic or stainless steel. Never aluminium, never non-stick, never glass that could crack from the heat.
- Keep children and pets out of the room until everything is put away and surfaces are wiped.
- Label every container the moment you use it, and keep the lye itself in its original sealed container, somewhere dry and out of reach.
- If lye water touches your skin, rinse under running water for several minutes and remove any splashed clothing. Do not reach for vinegar. Water is the answer.
One more honest note. The finished, cured bar contains no active lye. Saponification, the reaction between lye and oil, uses the lye up completely. That is why a cured bar is gentle on skin while the raw batter is not. Respect the process and the product takes care of itself.
The 3 Methods Compared
All soap is oil plus an alkali. The three methods below just change how much of that work you do yourself, and how long you wait afterwards. Pick by patience, not by pride.
| Method | Lye handling | Active time | Cure time | Best for |
|---|---|---|---|---|
| Melt-and-pour | None, the base is ready-made | 30 to 60 minutes | Sets in hours, use the next day | First-timers, quick gifts, soap with children (with an adult) |
| Cold process | Full, you mix the lye solution | 1 to 2 hours | 4 to 6 weeks | Classic bars and full control over every ingredient |
| Hot process | Full, you mix the lye solution | 2 to 3 hours including the cook | 1 to 2 weeks of drying, longer is better | Rustic bars you want to use sooner |
If you are still deciding, here is my advice. Make one melt-and-pour batch this weekend to learn how soap feels in a mold. Then make the cold process recipe below. You will understand both, and you will know which one you want to repeat.
Tools and Ingredients
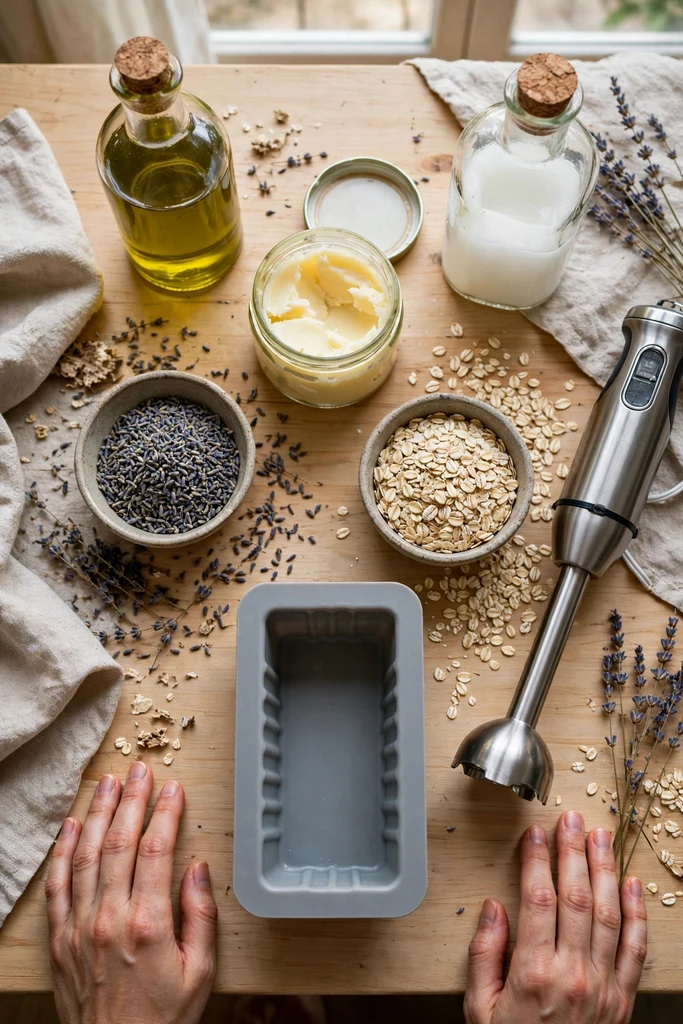
Soapmaking rewards weighing over guessing. A digital kitchen scale is the one tool you cannot skip. Everything in this guide is in grams, because grams are exact and cups are not.
Tools you will need:
- Digital kitchen scale that reads in grams
- Heat-resistant pitcher marked #5 PP plastic, or a stainless steel pitcher, for the lye solution
- Stainless steel pot for warming oils
- Immersion blender (a whisk works, but your arm will object)
- Silicone spatula and a stainless spoon
- Kitchen thermometer
- Loaf mold lined with parchment paper, or a silicone mold
- Safety goggles and chemical-resistant gloves
- Old towels for insulating the mold
- Small spray bottle of rubbing alcohol (for melt-and-pour bubbles and soda ash)
Cold process ingredients, the tested recipe used in Method 2:
- 400 g olive oil
- 300 g coconut oil
- 200 g palm oil
- 100 g castor oil
- 144 g sodium hydroxide (NaOH), measured for 5% superfat
- 330 g distilled water
- Optional at trace: 30 to 40 g essential oil, 1 to 2 tablespoons clay or natural colorant
A word on superfat, since the recipe names it. Superfat is the small percentage of oil left unsaponified on purpose, so the finished bar is mild instead of drying. Five percent is the sweet spot for a first batch. Do not raise it hoping for a creamier bar. Too much free oil makes a soft bar that goes off faster.
And the rule that protects every future batch: if you change any oil, or any amount, run the new recipe through a lye calculator (SoapCalc) before you make it. Lye amounts are calculated for a specific set of oils. Guessing them is the one shortcut that can genuinely ruin a batch.
Method 1: Melt-and-Pour Soap (No Lye Handling)
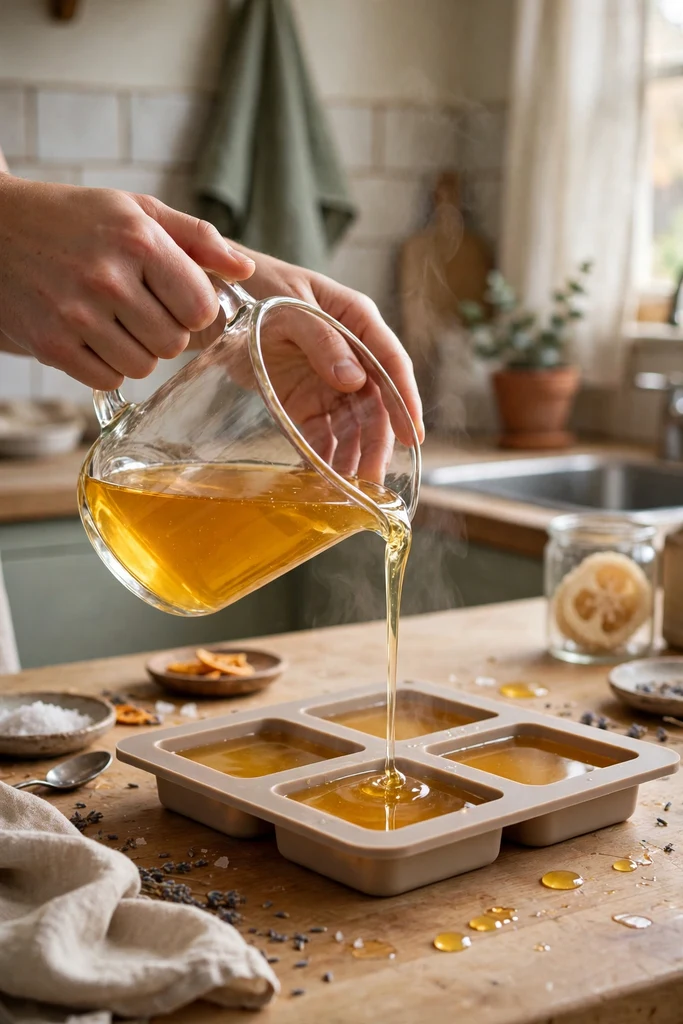
Melt-and-pour is soapmaking with the chemistry already done. You buy a ready-made soap base, melt it, add scent and color, and pour it into molds. There is no lye to handle, which makes it the right first step for anyone who feels nervous, and the right fast step for gifts.
Step 1: Cut 500 g of melt-and-pour base into small cubes so it melts evenly. Put them in a microwave-safe jug or a heatproof bowl over a pan of simmering water.
Step 2: Melt gently. In the microwave, heat in 30-second bursts and stir between each one. On the stove, keep the water at a simmer, never a rolling boil. You want the base fully liquid, around 60 degrees C (140 degrees F), not bubbling.
Step 3: Take it off the heat and let it cool slightly, to about 55 degrees C (130 degrees F). Stir in 10 to 15 g of essential oil and your colorant, a little at a time. Too much color looks muddy in the finished bar, so start with less than you think you need.
Step 4: Pour slowly into molds. Spritz the surface with rubbing alcohol to pop any bubbles. The alcohol evaporates and leaves a smooth top.
Step 5: Leave the molds completely still for 2 to 4 hours until the bars are firm and cool. Pop them out, and they are ready to use the next day. No curing wait, no lye, no drama.
Two things to avoid. Never add water-based liquids like milk or juice to a melt-and-pour base, they make it sweat and spoil. And never re-melt a finished bar more than once or twice, it dries out and the scent fades. Keep your first batch simple. Plain base, one scent, one color. You will be surprised how good simple looks.
Method 2: Cold Process Soap, Step by Step
This is the method most soapmakers mean when they say they make soap. You mix a lye solution, blend it with oils until it thickens, pour it into a mold, and wait while it becomes a bar. The waiting is the hardest part. The making takes an afternoon.
Step 1: Set up first. Put your goggles and gloves on, open the window, line your mold with parchment, and weigh every ingredient before you start. Soapmaking stops for no one once the lye is mixed, so have everything within reach.
Step 2: Make the lye solution. Weigh 330 g of distilled water into your pitcher. Weigh 144 g of sodium hydroxide into a separate dry container. In your ventilated spot, slowly pour the lye INTO the water, stirring the whole time. The mixture will heat up fast and give off steam. Keep stirring until it is fully dissolved, then set it aside to cool to between 100 and 110 degrees F (38 to 43 degrees C).
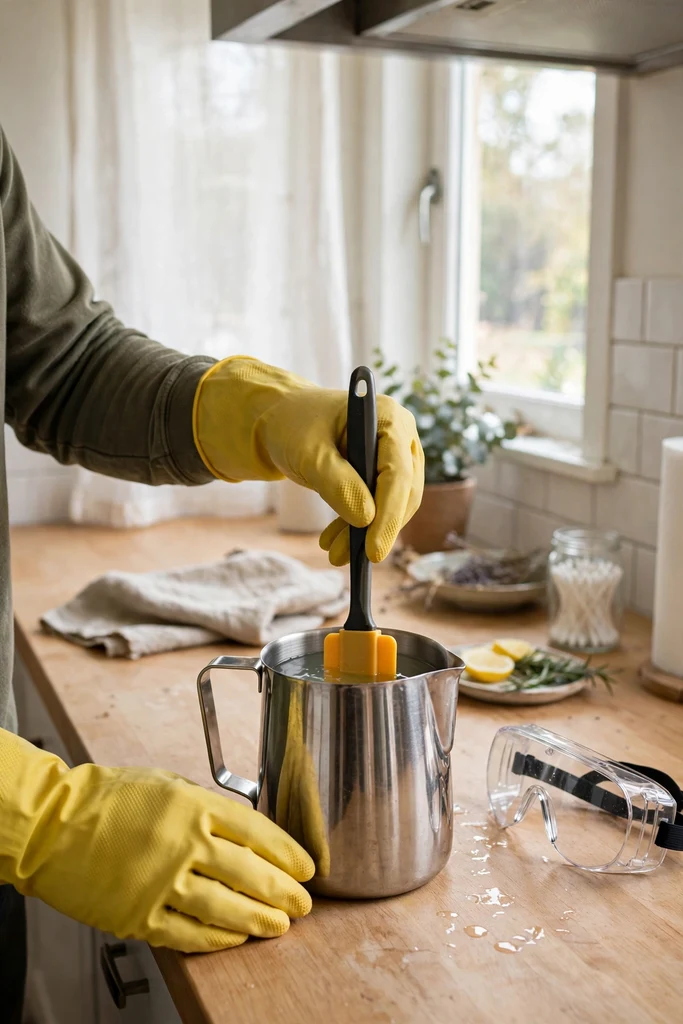
Step 3: Warm the oils. Combine 400 g olive oil, 300 g coconut oil, 200 g palm oil and 100 g castor oil in your stainless pot. Heat gently, just until everything is melted and clear, then let the oils cool to the same 100 to 110 degrees F range as the lye solution. Both pots at the same temperature is what keeps the batter behaving.
Step 4: Combine and blend. Pour the lye solution into the oils, through a sieve if any undissolved bits remain. Stir with the spatula for a minute, then use the immersion blender in short bursts, stirring between bursts. You are looking for trace: the batter turns pudding-thick, and a drizzle from the blender leaves a visible trail on the surface before sinking back in. Light trace pours easily. Thick trace holds its shape. For a first batch, pour at light to medium trace.
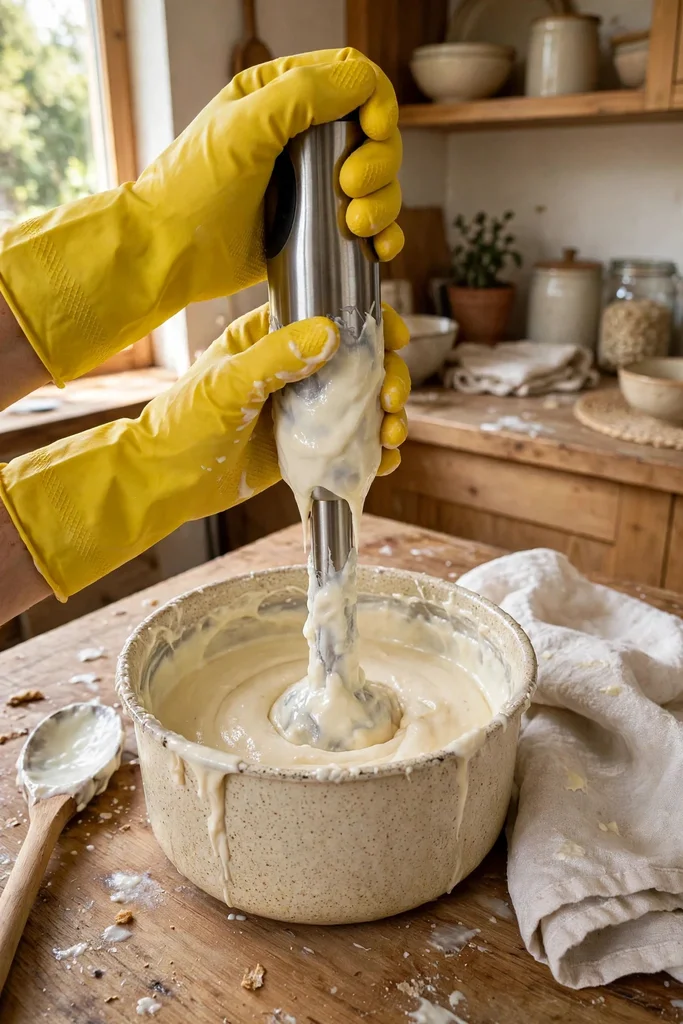
Step 5: Add scent and color at light trace. Stir in 30 to 40 g of essential oil and 1 to 2 tablespoons of clay or colorant by hand, not with the blender, so the batter does not thicken before you pour.
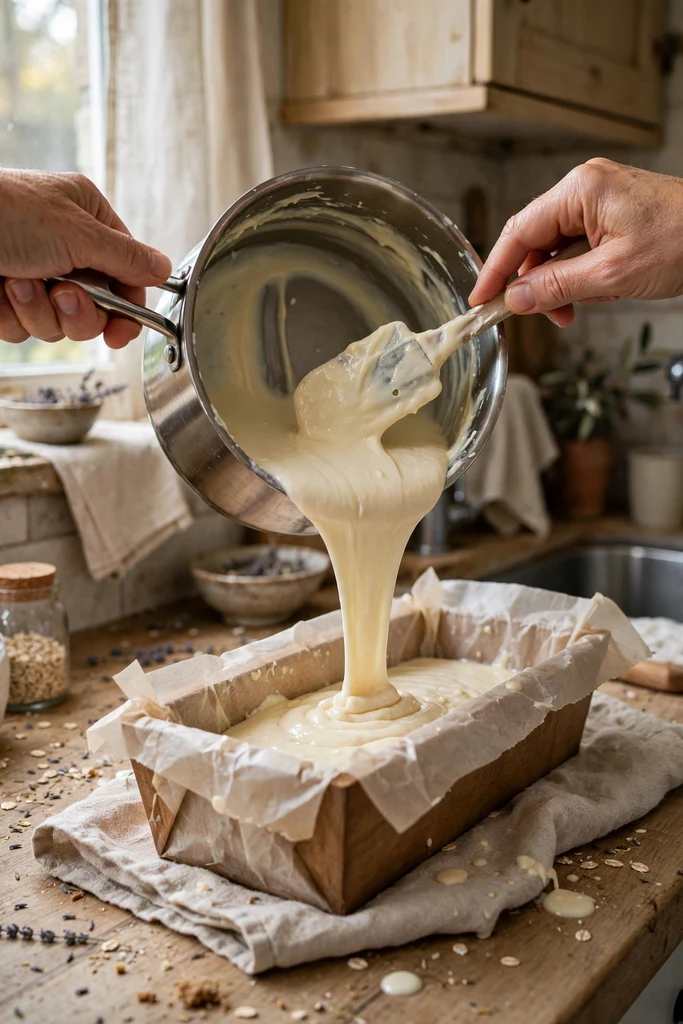
Step 6: Pour and insulate. Pour the batter into your lined mold, tap the mold firmly on the counter a few times to shake out air pockets, and smooth the top. Cover it with parchment, wrap the whole mold in an old towel, and leave it somewhere undisturbed for 24 to 48 hours. The soap will heat up on its own as it goes through gel phase. That warmth is normal. Do not unwrap it every hour to check.
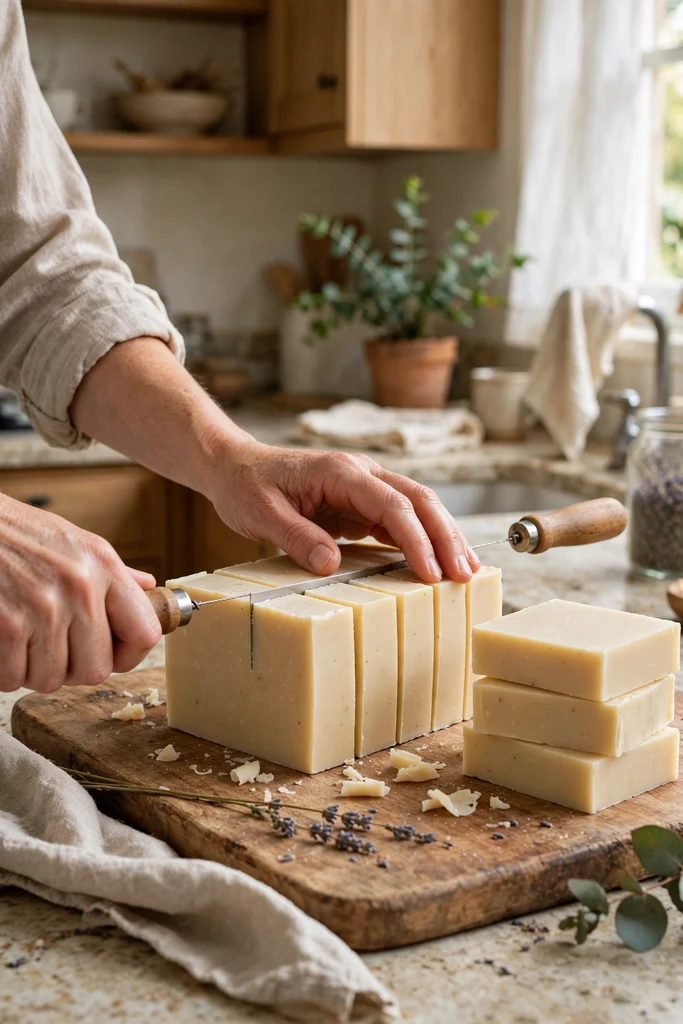
Step 7: Unmold and cut. When the loaf is firm and cool, take it out of the mold and cut it into bars about an inch thick. Wear your gloves for this. Fresh soap is still caustic, and it will be for weeks.
Step 8: Cure. Put the bars on a ventilated rack with space between them, somewhere cool and dry, out of direct sun. Turn them every week or so. Wait the full 4 to 6 weeks before using a bar. Curing lets water evaporate and the bar harden, so it lasts longer in the shower and feels milder on skin. A bar that is still soft or waxy is a bar that is not done yet.
Write the date and the recipe on a piece of tape on the rack. Six weeks from now you will be glad you did, because the bar you cut today will be the bar you reach for first, and you will want to make it again exactly the same way.
Method 3: Hot Process Soap, the Crockpot Way
Hot process follows the cold process recipe above, including the same lye safety rules, but it cooks the batter in a slow cooker after trace. The heat finishes saponification in the pot instead of in the mold, which is why hot process bars can be used sooner.
Step 1: Make the batter exactly as in Method 2, through trace, using the same quantities: 1000 g of oils, 144 g of lye, 330 g of water.
Step 2: Scoop the batter into a slow cooker on low. Put the lid on and cook for 45 to 60 minutes, stirring every 15 minutes. The batter will go through stages that look alarming and are completely normal: first it thickens like mashed potato, then it turns glossy and translucent, like petroleum jelly. That last stage means the cook is done.
Step 3: Switch the cooker off and stir in your scent now, after the heat, so less of it cooks away. Use the same 30 to 40 g of essential oil. Colorants go in here too.
Step 4: Glop the thick batter into your lined mold and press it down firmly with the spatula. Hot process soap does not pour smoothly, so the tops look rustic. That texture is part of the charm, not a flaw.
Step 5: Leave it 24 hours, unmold, cut, and then let the bars dry for at least 1 to 2 weeks. They are technically safe to use sooner than cold process bars, but a little drying time still makes a harder, longer-lasting bar.
Choose hot process when you want soap this month rather than next, or when a cold process batch went wrong and you want to rescue it. Many soapmakers rebatch failed cold process soap exactly this way: grate it, melt it gently with a splash of water, and remold it.
Making It Yours: Scents, Colors and Exfoliants
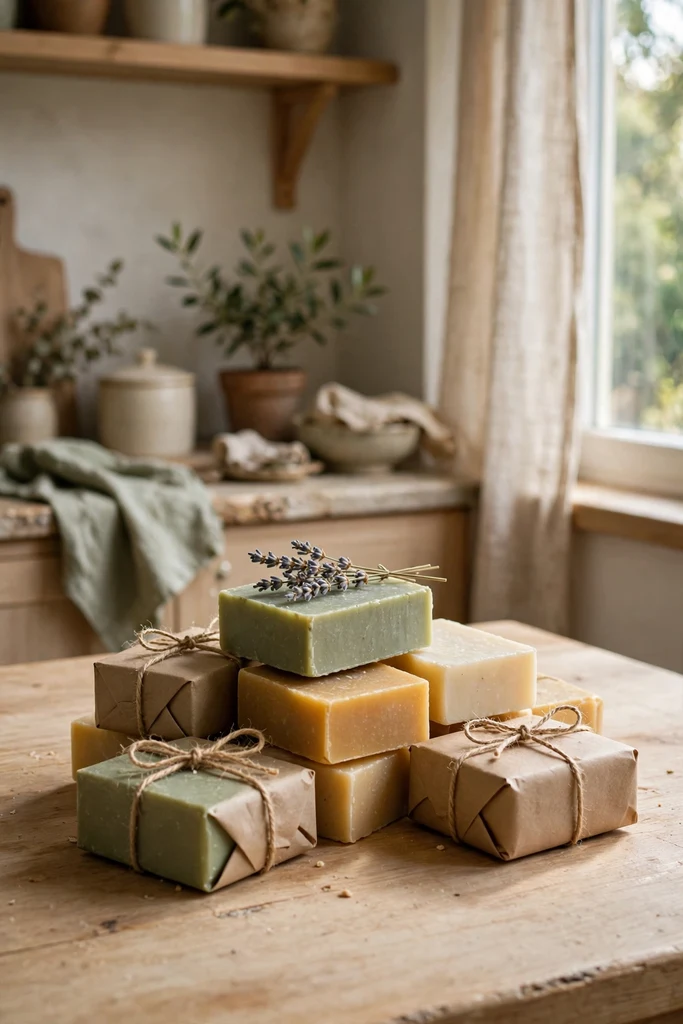
Once you can make a plain bar, the fun starts. Scent, color and texture are where your soap stops looking like everyone else’s and starts looking like yours. A few rules keep the experiments safe.
Essential oils: keep them around 3% of your oil weight, about 30 g per 1000 g of oils, and never use undiluted essential oil on skin. Lavender, peppermint and tea tree hold their scent well through curing. Citrus oils smell wonderful and fade fastest, so anchor them with a little litsea or lemongrass if you want the scent to last.
Clays and natural colorants: 1 to 2 tablespoons per batch is plenty. French green clay gives a soft green and a silky feel, kaolin keeps colors pale, cocoa powder makes a warm brown, turmeric a gentle yellow, and a pinch of madder root a dusty pink. Stir colorants into a little of the warmed oil before adding them, so they do not clump.
Exfoliants: 1 to 2 tablespoons of ground oats or fine coffee per batch, added at trace, gives a gentle scrub. More than that turns a wash into sandpaper, so measure rather than pouring freely. Poppy seeds look beautiful and scrub harder, so save them for hand soap, not face bars.
What to skip: food coloring, which stains washcloths and fades in weeks, and fresh fruit or vegetable purees, which can spoil inside a bar unless you know how to preserve them. Dried botanicals on top look lovely in photos and mostly wash off in the shower, so press them in lightly and enjoy them while they last.
Curing and Storing Your Bars
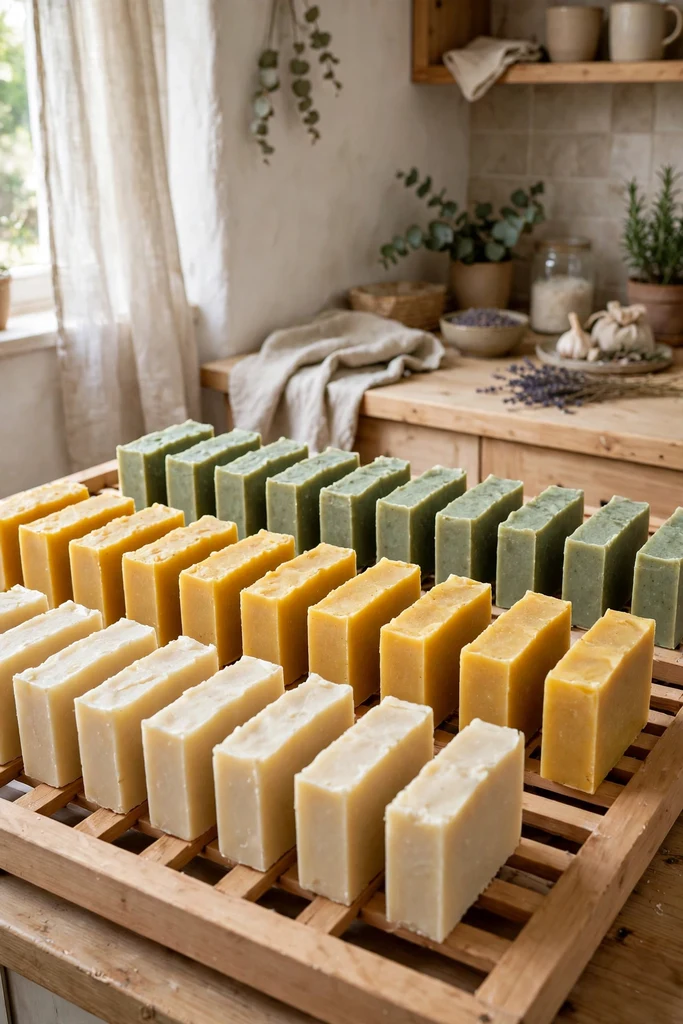
Curing is not wasted time. It is the step that turns a soft, fast-melting bar into a hard, long-lasting one. Water leaves the bar, the crystalline structure firms up, and the pH settles down. Skip it and you get a bar that melts into mush in a week.
- Cure cold process bars for 4 to 6 weeks, hot process bars for at least 1 to 2 weeks, on a ventilated rack with air reaching every side.
- Keep bars out of direct sun and away from damp rooms. A spare shelf in a dry room beats a bathroom windowsill.
- Turn the bars every week or so, so they dry evenly.
- Store finished bars in a dry drawer or box with parchment between them. They keep for about a year, though the scent fades before the bar does.
- Label everything with the date and the recipe. Your future self will thank you.
How do you know a bar is ready? It feels hard all the way through, not bendy or waxy, and it has had its full cure. If you are unsure, wait another week. Soap only gets better with patience, and a week costs nothing.
Troubleshooting: When a Batch Goes Sideways
Every soapmaker has a batch that misbehaves. Most problems are cosmetic, and all of them teach you something for the next batch. Here is what usually went wrong, and what to do about it.
| Problem | Likely cause | What to do |
|---|---|---|
| Soft, bendy bars | Cut too soon, too much water, or a very high olive oil share | Give them a longer cure. Next batch, check your water amount with a lye calculator. |
| White powdery coating (soda ash) | Lye reacting with air while the soap cools | Harmless. Steam it off or rinse the bar. Prevent it with an alcohol spritz and a covered mold. |
| Batter thickens too fast | Floral or spice oils, or soaping too hot | Soap cooler next time, and stir scent in by hand at light trace. |
| Hardly any lather | Too much superfat, or a recipe low in coconut oil | Coconut oil drives bubbles. Keep superfat at 5% for a bubbly bar. |
| Cracks across the top | The mold overheated under its towel | Cosmetic only. Skip the towel next time if your room is already warm. |
| Lye pockets or a tingling bar | Incomplete mixing, or lye measured wrong | Do not use it yet. Rebatch: grate, melt gently with a little water, and remold. If you are ever unsure, discard it. Safety comes before saving a batch. |
If a batch fails completely, do not take it personally. Write down what you did, change one thing, and make it again. Soapmaking is a craft, and crafts are learned by doing, not by reading about doing.
Frequently Asked Questions
Start where you are. If lye still makes you nervous, make a melt-and-pour batch this weekend and enjoy soap you made with your own hands. If you are ready, weigh out the cold process recipe above and spend an afternoon on it. Either way, six weeks from now you will pick up a bar, smell it, and think about the next batch before the first one is even finished.
That is how the craft hooks you. One bar becomes a shelf, a shelf becomes gifts for everyone you know, and somewhere along the way you stop buying soap altogether. Happy making, and keep your goggles on.
More from The Glossy Guide
 Food
Stuffed Pigs in Blankets With a Gooey Cheese Heart: A High-Protein Snack Worth Making Again
Few holiday bites manage to feel this indulgent while still working hard for your macros, and these Stuffed Pigs in…
 Fashion and Beauty
Plush Holiday Elegance After 70: 45 Velvet Gowns for Joyful Gatherings
December invites us to dress a little more richly than usual, and few fabrics answer that invitation as graciously as…
Retro Spark, Present-Day Polish: Dressing Bold After 50
Judging where affection for a decade ends and dressing-up begins is the hardest part of wearing eighties-inspired clothes today. Padded…
