Top 13 Charming Gift Card Presentation Ideas That Turn a Simple Card Into a Stunning Surprise
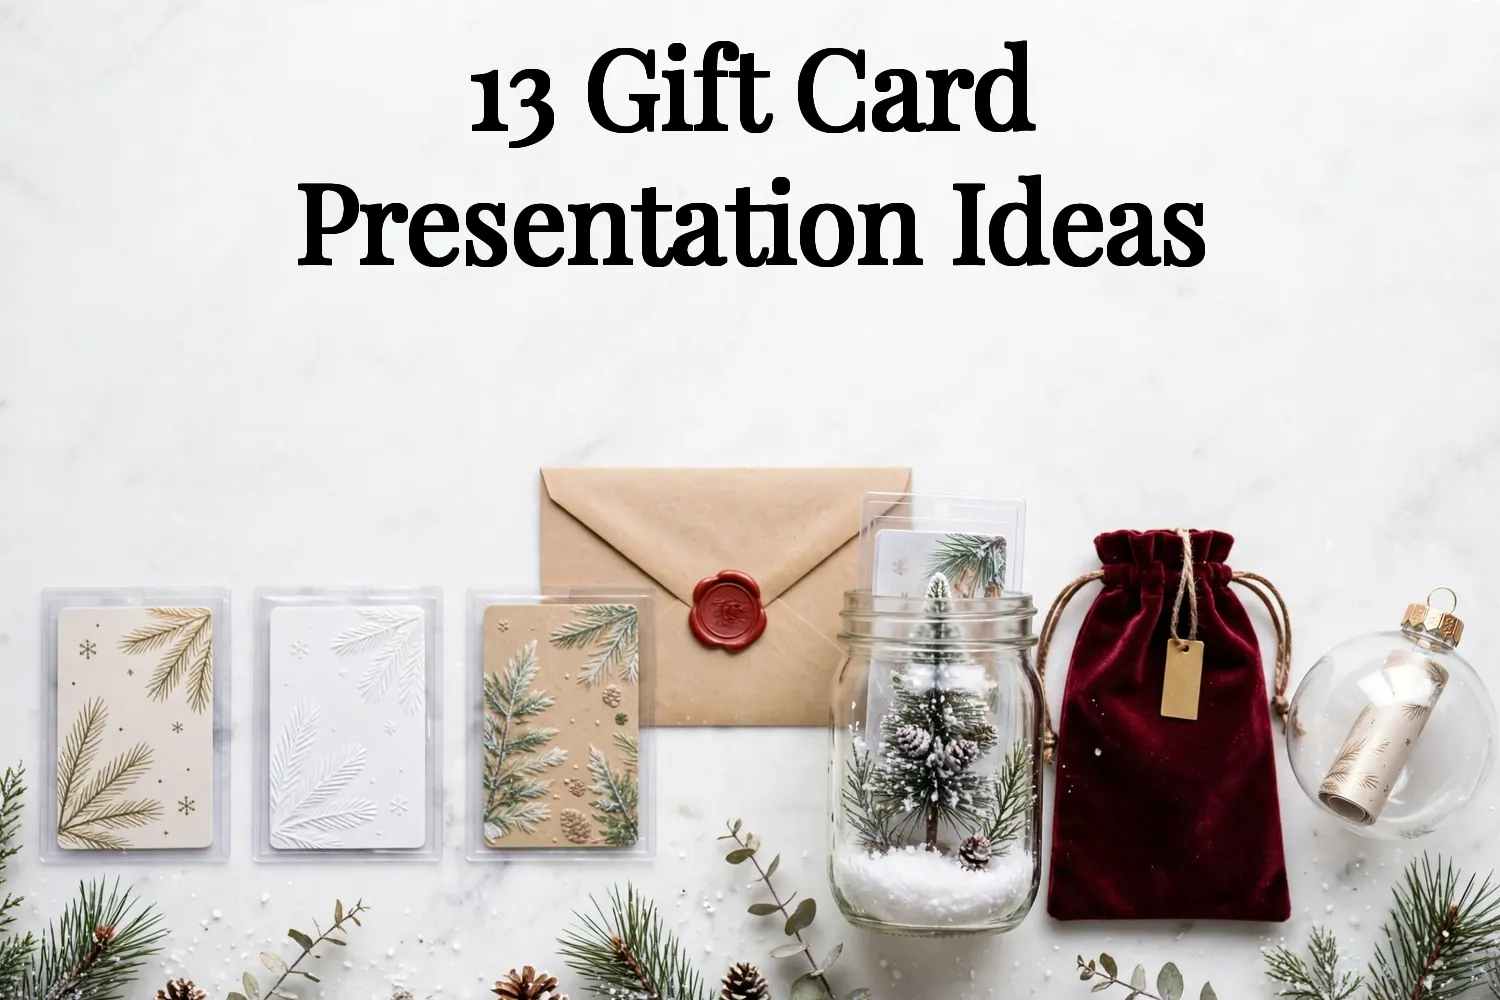
A gift card can feel like an afterthought, tucked into a plain store envelope and handed over with a quick smile. These gift card presentation ideas change that first impression, so the card feels like part of the gift from the very first second.
The list covers every occasion you will meet this season, from Christmas morning and birthdays to teacher gifts, coworker thank-yous, and last-minute saves. Each idea uses supplies you likely own already and takes only a few minutes to put together.
Look out for the wax-sealed envelope at number one and the scavenger hunt at number three, then save room for the grandest finish at number thirteen, where a cookie tin turns a simple card into a gift worth opening twice.
Table of Contents
- 1. Kraft Envelope with a Wax Seal
- 2. Mason Jar Snow Globe Card
- 3. Scavenger Hunt Clue Trail
- 4. Pop-Up Card Holder
- 5. Mini Gift Box with Tissue
- 6. Christmas Ornament Card Holder
- 7. Coffee Sleeve Pocket
- 8. Photo Frame Card Holder
- 9. Balloon Surprise
- 10. Bookmark Pocket Holder
- 11. Last-Minute Printable Sleeve
- 12. Velvet Pouch with a Gold Tag
- 13. Cookie Tin Treat Jar with the Card
- Frequently Asked Questions
- Give a Card Worth Opening
1. Kraft Envelope with a Wax Seal
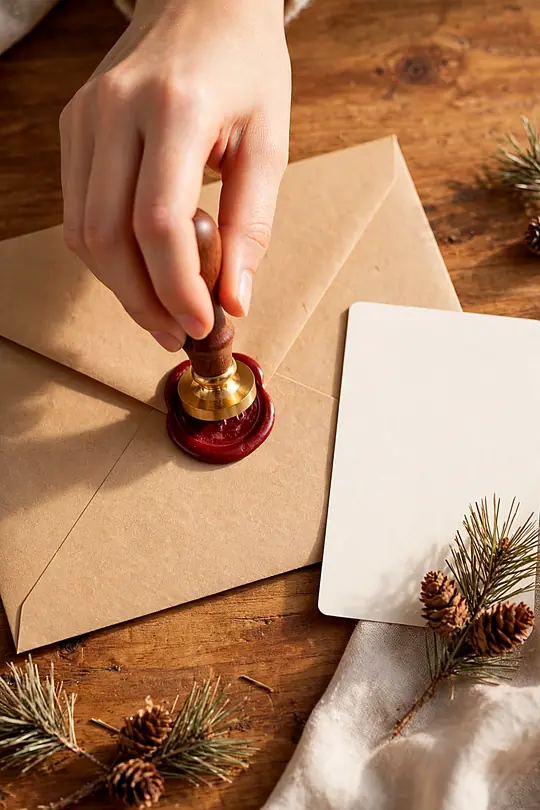
A plain kraft envelope looks handmade the moment a wax seal lands on the flap, and the whole thing costs very little to make. Pick a seal in deep red or forest green, stamp it over the envelope point, and tuck a small sprig of dried pine under the seal. The card slides in flat, so nothing bulges or tears.
What You Need
- 1 kraft envelope, A6 size
- 1 wax seal stamp and wax sticks
- 1 small sprig of dried pine
- 1 pen for the name
- Double-sided tape
Seal the envelope first and let the wax cool before you touch it, or the stamp design will smear. Write the name on the front in your neatest handwriting. A wax seal next to messy writing looks unfinished, so take your time with the letters. If the wax cracks, warm the stamp in your hands and try again.
- Slide the card into the envelope and seal the flap with tape.
- Melt the wax onto the flap point and press the stamp down firmly.
- Hold the stamp still for ten seconds, then lift it straight up.
- Tuck the pine sprig under the wax edge while it is still soft.
A sealed envelope pairs well with a handmade gift, so browse these handmade Christmas gift ideas for a match.
2. Mason Jar Snow Globe Card
What You Need
- 1 small mason jar with a lid
- Fake snow or white glitter
- 1 mini pine tree or tiny house
- Hot glue gun
- Ribbon for the lid
- The gift card
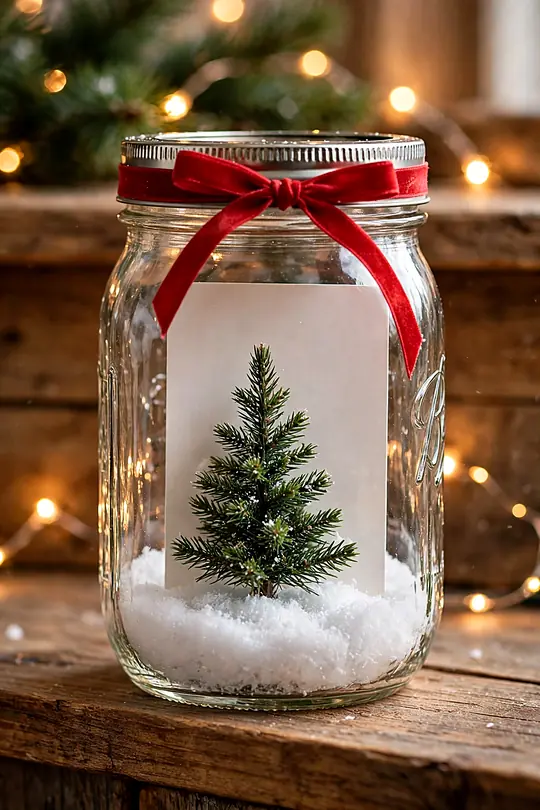
A mason jar turns a gift card into a winter scene. Glue a small tree inside the lid, add a spoonful of fake snow, and slide the card in behind the tree. Screw the lid on, tie a ribbon around the rim, and the jar becomes a keepsake once the card is gone.
Snow tip: Use plastic glitter made for crafts, not craft sand, because sand clouds the glass and hides the card. One spoonful gives a soft snowfall without burying the tree.
If jars and snow scenes are your style, these DIY Christmas snow globe ideas give you more jars to play with.
3. Scavenger Hunt Clue Trail
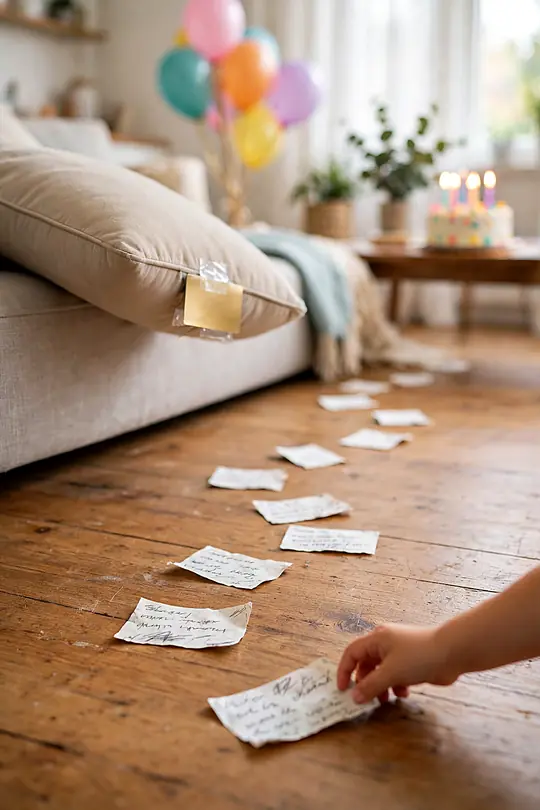
Kids forget a gift card in minutes, but they never forget a hunt. Write five short clues on small cards, hide each one where the next clue waits, and tape the gift card to the final spot. Each clue should point at something obvious in the house, like the fridge or the shoe rack.
- Write clue one on the birthday card and hand it over first.
- Hide clues two through four in easy spots around the house.
- Tape the gift card under the final hiding spot.
- Read the last clue aloud together so the reveal lands for everyone.
Keep the clues short and silly, with one rhyme in each if you can manage it. Rhymes help kids remember the clue while they run, and they make the trail feel like a game instead of a chore. If the party has mixed ages, pair a younger child with an older one so nobody gets stuck on a hard clue.
Age check: For kids under six, use picture clues instead of words, such as a drawing of a sock or a spoon. Pictures keep the hunt moving and stop tears before they start.
A hunt ends well with a sweet treat, so plan the party table around these Christmas cookie ideas for the holidays.
4. Pop-Up Card Holder
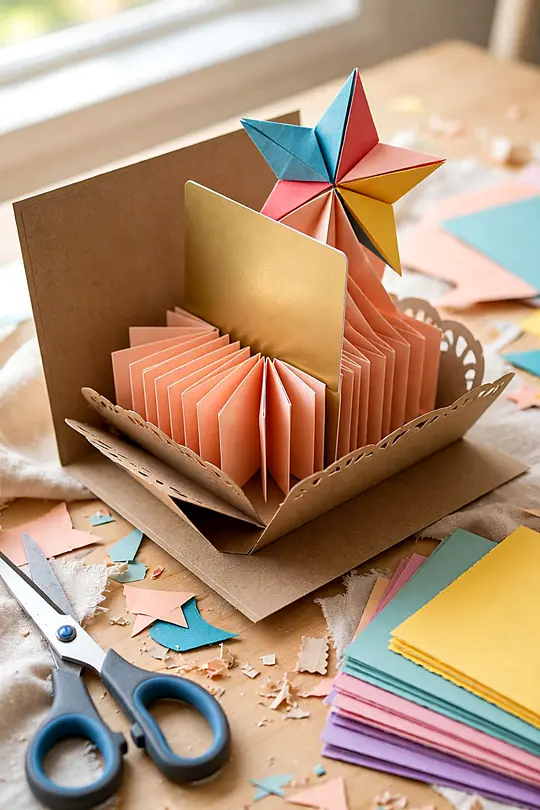
A pop-up holder makes the card jump out of the envelope the second it opens, which is exactly the reaction a birthday deserves. Fold a strip of card stock into a small accordion, glue one end to the card and the other to the inside of a folded holder, and the gift card springs up when the holder opens.
Measure the accordion against the holder before you glue anything. A strip that is too long will jam, and a strip that is too short will not pop at all. Test the fold three times on scrap paper, then commit with glue. A thin line of craft glue holds better than tape here.
What You Need
- Card stock in two colors
- Craft glue
- Ruler and pencil
- Scissors or a craft knife
- Paper star or balloon cutout
A birthday card deserves a thoughtful gift beside it, so look through these Christmas gift ideas for mom for inspiration.
5. Mini Gift Box with Tissue

- Pick a small box that fits the card with a finger of space around it.
- Line the box with tissue paper in a color that suits the occasion.
- Lay the card flat on the tissue and fold the tissue over it.
- Tie a thin ribbon around the box and finish with a small bow.
A tiny box tells the receiver that the gift inside was chosen with care, even when the gift is a card. The tissue does the real work here: it cushions the card, hides the edges, and makes a soft rustle when the lid comes off. Pick tissue in a color that matches the ribbon.
At a Glance
A small handmade box sits nicely beside a cozy craft, like one of these beginner crochet patterns for a soft gift.
6. Christmas Ornament Card Holder
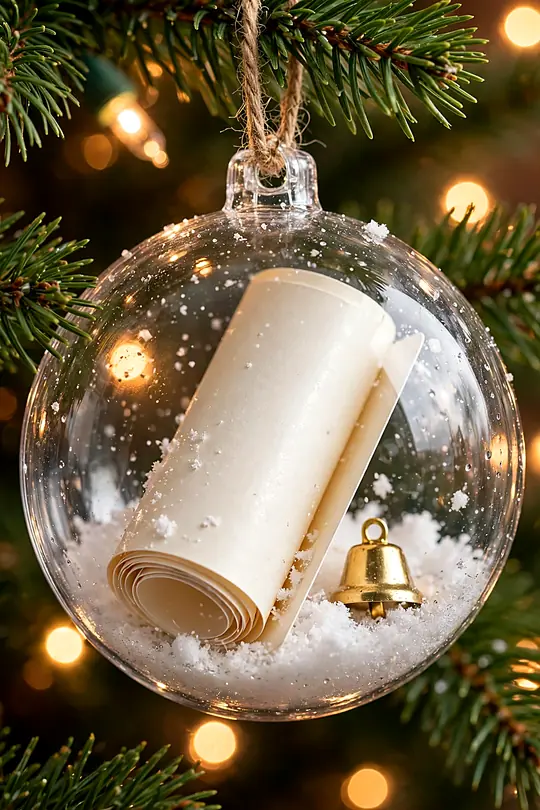
Hang the gift card on the tree inside a clear ornament, and the present becomes part of the decor until Christmas morning. Roll the card gently, slide it into a clear plastic bauble, and add a pinch of fake snow and a tiny bell. Hang it at eye level so the receiver spots it right away.
Glass warning: Use plastic baubles only, never glass, because a glass ornament can break if it slips off a branch. Plastic looks the same on the tree and survives a fall.
What You Need
- 1 clear plastic bauble, 4 inches wide
- Fake snow
- 1 tiny bell
- Ribbon for hanging
- A pencil for rolling the card
Ornament crafts pair well with dough ornaments, so try these salt dough Christmas ornament ideas next.
7. Coffee Sleeve Pocket
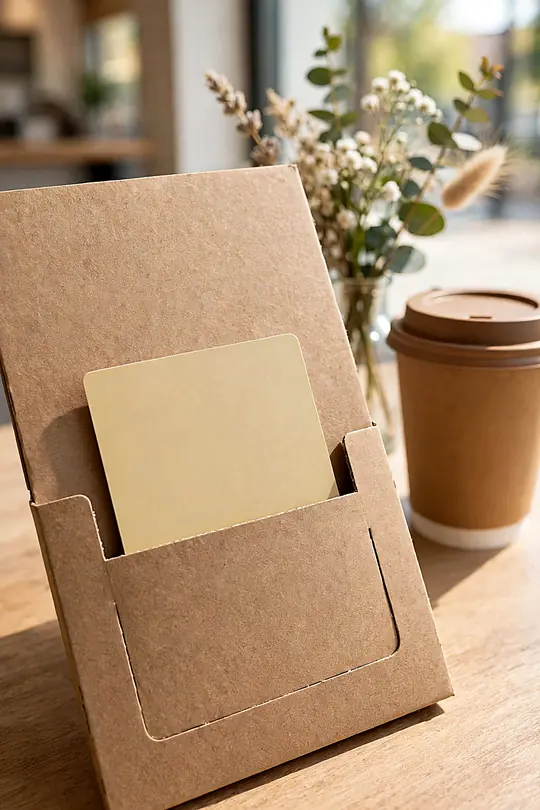
A coffee gift card belongs in a coffee sleeve, and this idea takes about two minutes. Take a plain cardboard sleeve, cut a pocket into the front with a craft knife, and slide the card halfway in so the top half shows. Write a short note on the sleeve in marker, such as a coffee pun.
What You Need
- 1 plain cardboard coffee sleeve
- Craft knife and cutting mat
- Marker in a dark color
- Washi tape for the edges
- The coffee gift card
Cutting tip: Score the pocket lines lightly first, then cut through on the second pass. A single hard cut can slice the back of the sleeve and ruin the pocket.
Coffee lovers will also enjoy a warm drink at home, so share one of these Christmas coffee drink recipes with the card.
8. Photo Frame Card Holder
At a Glance
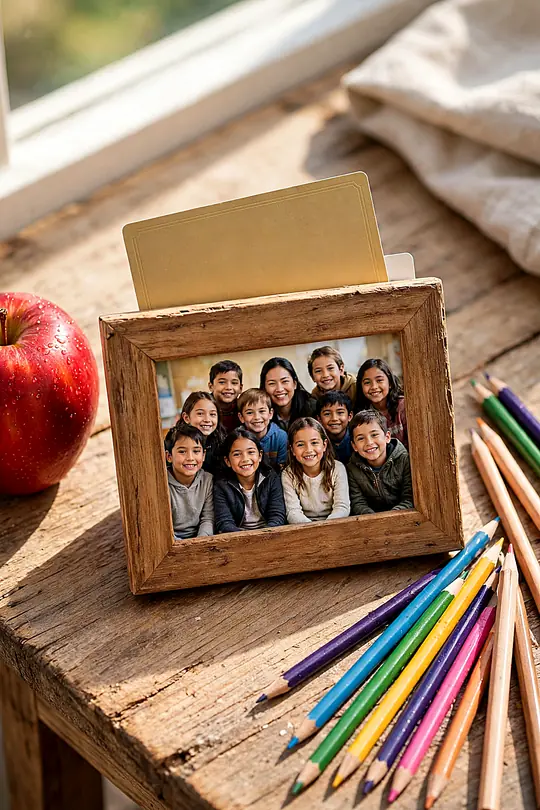
Teachers keep photos far longer than they keep cards, so put the two together. Slide a class photo into a small frame, tape the gift card to the back of the photo where it slides out easily, and write a short note on the back of the frame. The teacher hangs the photo on a desk or a wall.
- Pick a photo the teacher will want to keep on display.
- Tape the card to the back of the photo with two small tape loops.
- Write the note on the back of the frame, not on the photo.
- Check the card slides out cleanly before you wrap the frame.
A framed photo fits a handmade home, so get more ideas from these DIY wall art projects for the same shelf.
9. Balloon Surprise
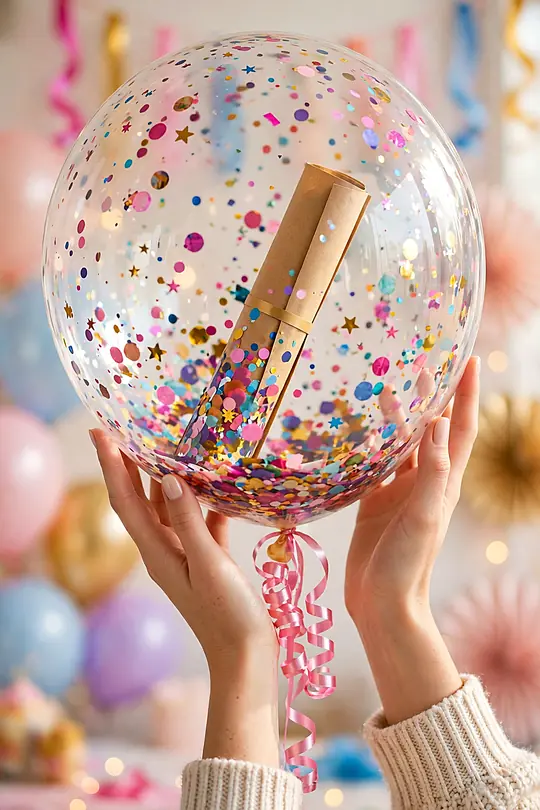
A balloon hides a gift card in the plainest sight, and popping it is half the fun. Roll the card, slip it into a large clear balloon with a handful of confetti, and blow the balloon up to a good size. Tie it off with curling ribbon and hand it over with a pin taped to the ribbon.
Use a clear balloon so the card shows through the latex, which builds excitement before the pop. Keep the balloon away from heat and sharp edges on the way to the party, and carry a spare balloon in case the first one pops early. Warn younger kids before the pop so the noise does not scare them.
- Roll the card loosely and slide it into the balloon neck.
- Add one small handful of confetti, no more.
- Blow the balloon up slowly so the card does not crease.
- Tie curling ribbon to the knot and tape a pin to the ribbon end.
Balloon fun suits a countdown gift too, so look at these DIY wood advent calendar ideas for a December version.
10. Bookmark Pocket Holder
What You Need
- Thick card stock, 2 by 7 inches
- A second strip for the pocket
- Craft glue
- Ribbon or tassel
- Hole punch
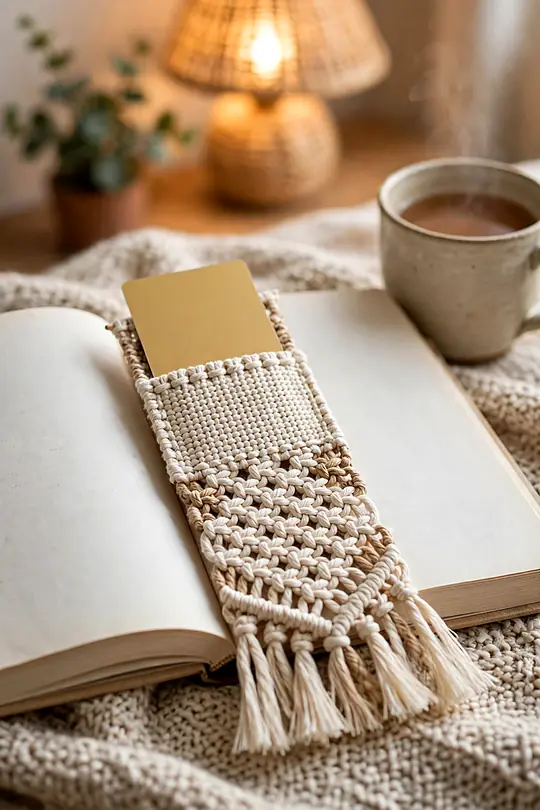
Book lovers never throw away a good bookmark, which makes it the right holder for a bookstore gift card. Cut a tall bookmark from thick card stock, glue a small pocket to the lower half, and slide the card in so the top edge shows. Punch a hole at the top and thread a ribbon through it.
Glue only three sides of the pocket and leave the top open, or the card will not slide in at all. Press the pocket flat under a heavy book overnight so the glue sets without warping the card stock. A thin strip of washi tape along the pocket edge hides the glue line and adds a stripe of color.
Size check: Bookstore cards are a standard credit-card size, so a pocket two inches wide fits them with a little room. Measure the card first if it comes from a small local shop.
Bookish gifts look right on a styled shelf, so steal a display idea from these DIY shadow box ideas.
11. Last-Minute Printable Sleeve
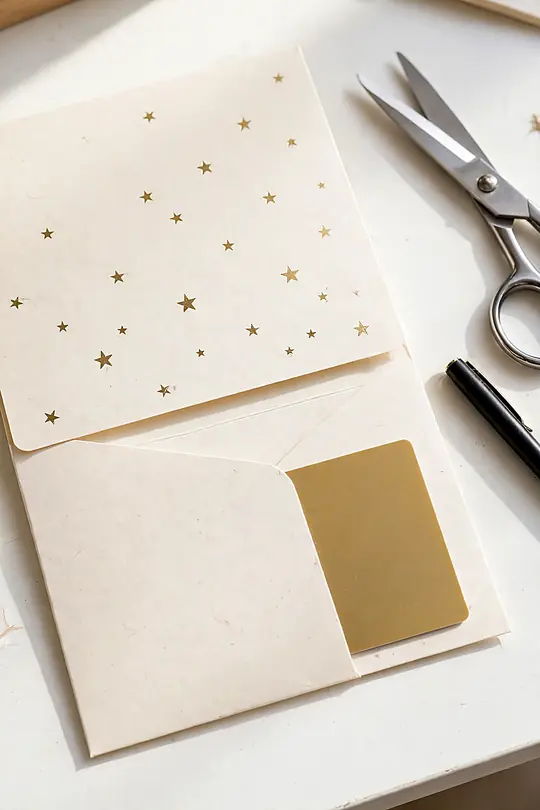
When the party starts in an hour, a printable sleeve saves the day. Print a sleeve design on heavy paper, cut along the lines, fold the flaps in, and slide the card into the pocket. A sleeve with a simple tree, a star, or a plain border looks polished without any craft skill at all.
- Print the sleeve on card stock, not plain copy paper.
- Cut along the solid lines and fold on the dashed lines.
- Slide the card in and fold the top flap down.
- Add a sticker seal to hold the flap shut.
At a Glance
A quick sleeve suits a quick mirror craft too, so try one of these DIY sunburst mirror ideas when you have more time.
12. Velvet Pouch with a Gold Tag
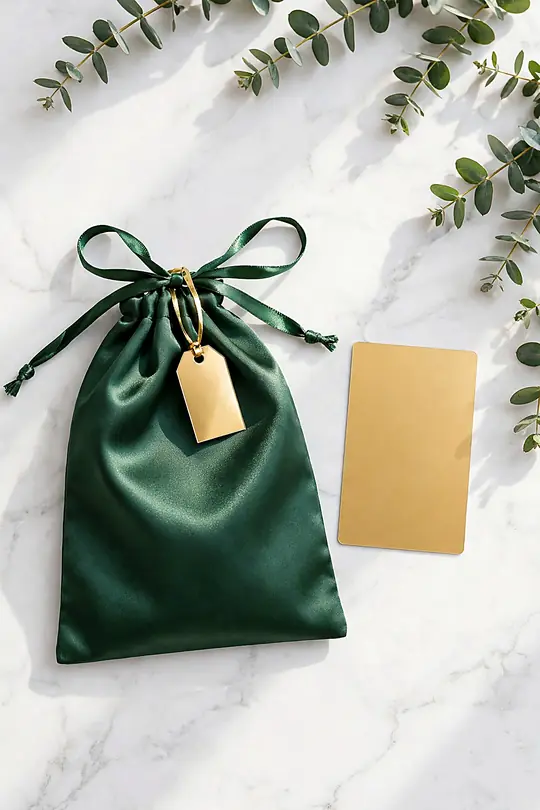
Some cards deserve a little luxury, and a velvet pouch gives it without a big price tag. Slide the card into a small drawstring pouch in deep burgundy or forest green, pull the cord tight, and hang a gold gift tag from the cord with the receiver’s name on it.
Fabric tip: Velvet shows every fingerprint, so handle the pouch by the cord and the tag only. A quick brush with a lint roller takes off dust before you hand it over.
Pick a pouch that fits the card with no extra room. A loose pouch looks empty, and a tight one creases the card. A tag in thick gold card stock reads richer than thin paper, and a short message on the back beats a long one. This is the holder to reach for at weddings, graduations, and milestone birthdays.
Luxury touches belong in a dressed-up room too, so see these luxury Christmas decor ideas for the same mood.
13. Cookie Tin Treat Jar with the Card
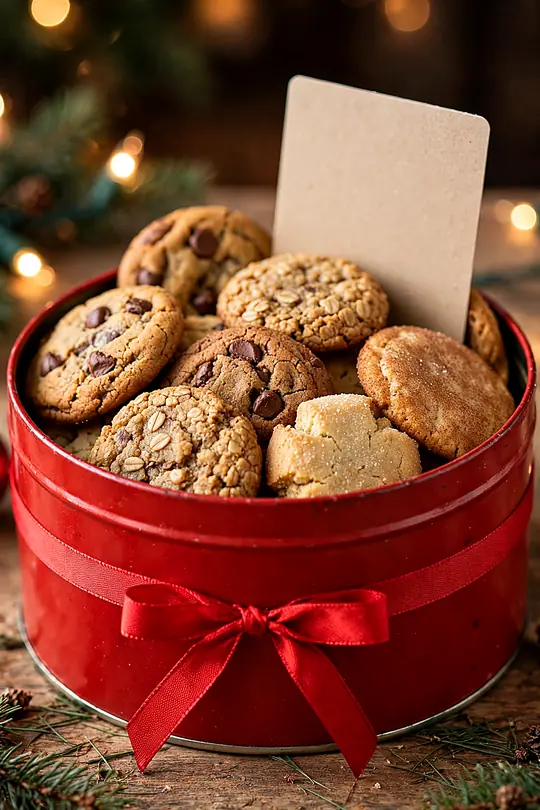
What You Need
- 1 cookie tin or large glass jar
- Homemade or bakery cookies
- Tissue paper
- Ribbon in a holiday color
- 1 small gift tag
- The gift card
- Line the tin with tissue paper.
- Layer the cookies in gently, flat side down.
- Tuck the gift card upright between the cookies and the tin wall.
- Close the lid and tie ribbon around the tin with a bow.
This is the grandest finish on the list, because it gives two gifts at once: something to eat now and something to spend later. The cookies cushion the card, the tin keeps everything safe, and the ribbon makes the whole thing look like it came from a bakery.
Freshness tip: Slip a small square of parchment between the card and the cookies. It keeps butter off the card and lets the receiver pull the card out clean and tidy.
Cookies and cards go together, so pair the tin with a handmade touch from these felt Christmas ornament ideas.
Frequently Asked Questions
Can I put a gift card in a regular envelope?
Yes, a regular envelope works fine as long as the card fits flat and the envelope seals well. Tape the card to a small piece of card stock first so it cannot slide around, then seal the flap and add a wax seal or a sticker for a finished look. A plain envelope with a neat name on the front looks far better than a bare card.
How do I keep a gift card safe inside a handmade holder?
Tape the card in place with two small loops of double-sided tape, or slide it into a pocket that fits snugly. The card should not rattle or slide out when the holder tips over. Test the holder by turning it upside down over a table before you hand it over, and fix any loose fit with a strip of tape.
What is a quick last-minute way to present a gift card?
A printable sleeve works well when time is short: print it on card stock, fold it, and slide the card in. A coffee sleeve pocket or a small box with tissue also works in minutes. Keep the design simple when time is short. A clean fold and a neat name beat a rushed decoration every time.
How much should I spend on the presentation itself?
Very little. The card is the gift, so the holder should cost a dollar or two, no more. Kraft paper, ribbon scraps, jars from the kitchen, and printable sleeves all look polished without a big spend. Save the money for the card balance, and let the holder add the charm.
Give a Card Worth Opening
Thirteen ideas later, the promise from the top of this list holds: the wax-sealed envelope at number one still sets the tone, the scavenger hunt at number three still earns the laugh, and the cookie tin at number thirteen really is the finish the whole list builds toward, giving two gifts in one neat package. These gift card presentation ideas prove that a little paper, ribbon, and thought turn a flat card into a gift worth opening twice.
Pick the holder that fits the person, the occasion, and the time you have, then enjoy the small moment when the card comes out and the smile lands. Happy gifting, and may every card you give this season feel like it was wrapped with care.
If you love handmade touches, keep the spirit going with these Christmas decoration ideas for the whole house.